This vector-based plug-in, part of the FXFactory Pro suite, lets you zoom into your text to any level with no image degradation.
STEP 1
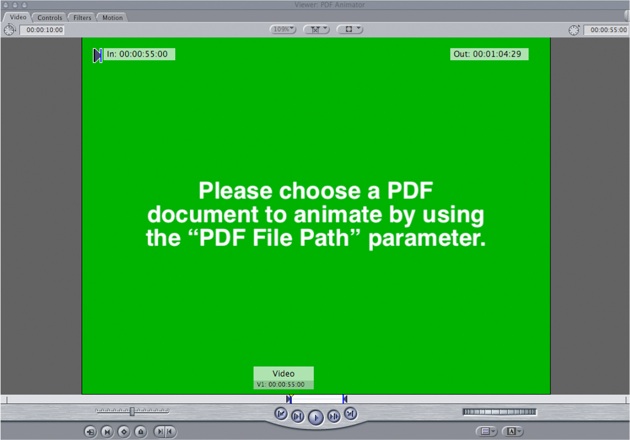
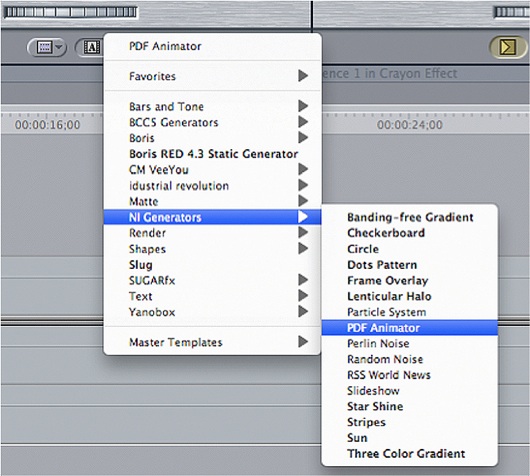
Start in Final Cut Pro and open the Generator Menu by clicking on the little “A” icon located in the bottom right of the Viewer. Scroll down to the NI Generators (Noise Industries) category and click on PDF Animator. The Viewer indicates that you need to now load a PDF document.
STEP 2
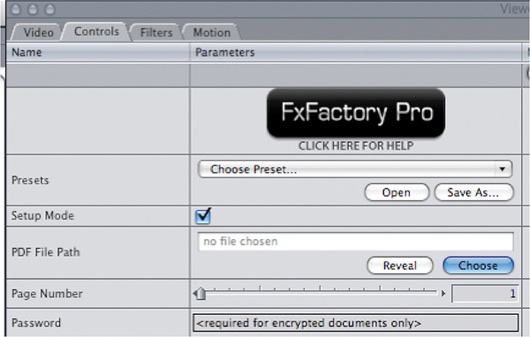
In the Controls tab of the Viewer, click on the Choose button. A finder window lets you navigate to the PDF document. You can pick a page number and open encrypted documents by keying in the password.
STEP 3
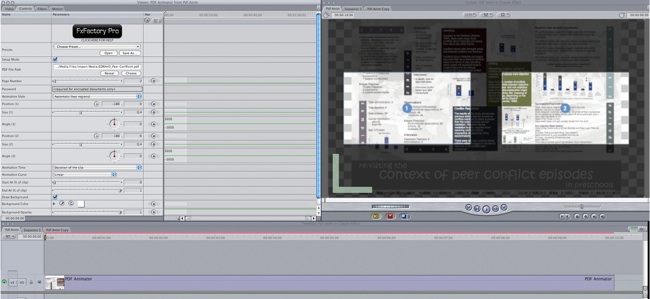
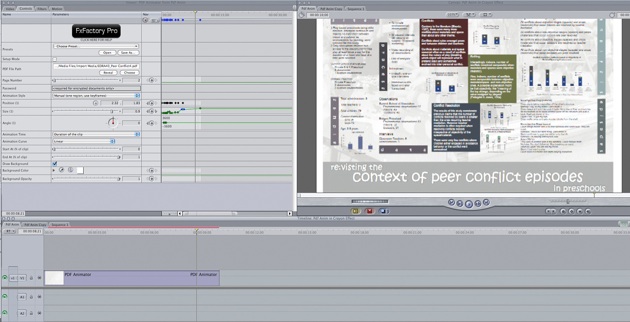
Edit ten seconds of the PDF to the timeline. The chosen document appears in the Canvas with what seems like a dark overlay with two numbered rectangular cutouts. This is because the plug-in defaults to the Setup Mode (note the check mark in the image) that shows the virtual camera as rectangular frames moving on the document surface. The default is an automatic left-to-right pan.
STEP 4
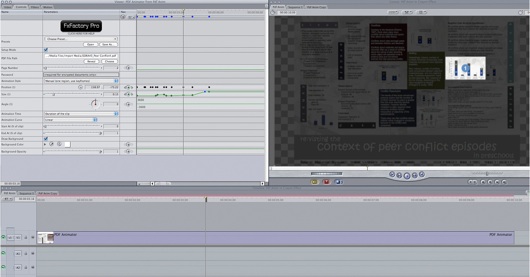
Double-click on the clip in the timeline to load it in the Viewer. In the Contols tab, switch the Animation Style to Manual. A single window replaces the dual. Using the Size, Position, and Angle parameters, keyframe the window to move over the document. Note that what you see inside the window at any point in the timeline will be scaled to fill the frame when you step out of the Setup Mode.
STEP 5
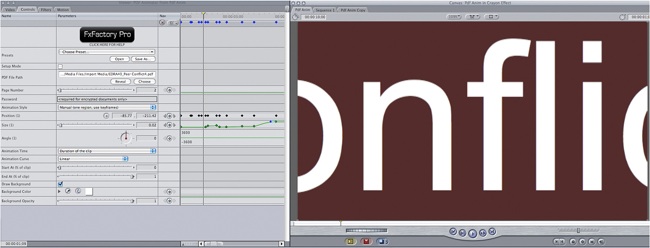
Uncheck the Setup Mode to preview your animation. The Noise Industries PDF Animator maintains the vector information in PDF documents. This means you can zoom into your text to any level with no image degradation whatsoever-the lines are perfectly sharp.
STEP 6
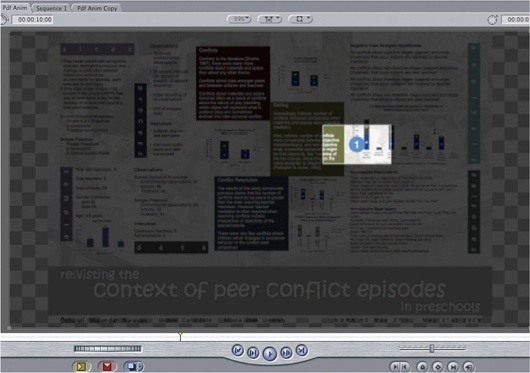
Fine-tune the animation by stepping back into the Setup Mode until the path and timing are just right.
STEP 7
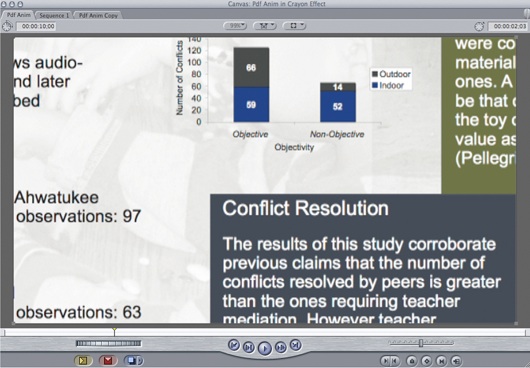
Almost done! The document is incredibly crisp-zoomed all the way in to full-on wide. While this is a good thing in most cases, the fast animation we are using causes some serious motion jitter.
STEP 8
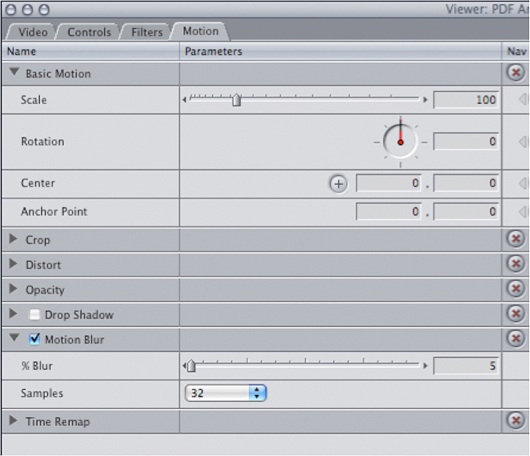
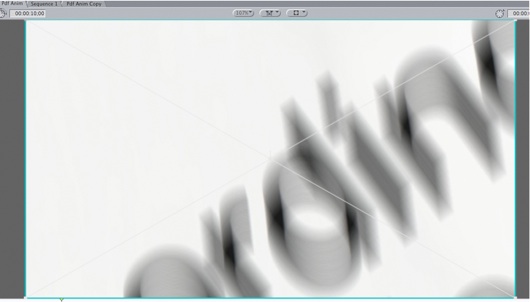
This is nothing a little bit of Motion Blur won’t cure. In the Motion tab, set the %Blur to 5 and the Samples to 32-and there you have it. A PDF document with great vector graphic quality, animated with silky smoothness.
Your Guide: Vivek “Vik” Narayan

Over the last 15 years, Vik Narayan has directed, edited, composited, color corrected, and created motion graphics for projects ranging from high-end commercials to low-budget, long-form documentaries. He has been widely recognized for his accomplishments in post-production, including 13 Emmy Awards and a George Foster Peabody Award in 2008. Vik loves to research evolving post solutions and has published numerous articles and reviews on the same. He currently serves as the 1st Vice President and Awards Committee Chair at the National Academy of Television Arts and Sciences, Rocky Mountain Southwest Chapter. Vik can be reached at viveknarayan74@gmail.com.
Vik Says Keep in Mind….
The PDF document I used in this tutorial was a 17-inch x24-inch two-page poster. Almost all Pan & Zoom plug-ins only handle raster images and would be severely bogged down while manipulating an image of this size. On the other hand, the FxFactory PDF Animator maintains the vector information in PDF files, making for a much smaller file. Since FxFactory plug-ins are designed around Apple’s newest FxPlug architecture, their render times rival Final Cut Pro and Motion’s native filters. This ten-second clip, which includes quite a few keyframes and a motion blur to boot, took less than a minute to render on an 8-core 3.2Ghz MacPro with 4GB RAM.
For a free test drive of FxFactory Pro, please visit www.noiseindustries.com.

Did you enjoy this article? Sign up to receive the StudioDaily Fix eletter containing the latest stories, including news, videos, interviews, reviews and more.


