Not every key you work with will be clean. This is how to deal with the bad ones.
Lately, I’m being asked to do more and more with greenscreen keys. Some of the keys I get are shot really well, and the rest aren’t. This is how to deal with the bad ones.
Until Adobe recently discontinued it, the former Serious Magic’s Ultra was, was known as the best and most forgiving keyer. Its strength, specifically, was it let you have 16 key points (color samples) and paint out other unwanted “leftovers.” The downside was it was a standalone application, which meant you had to do your keying first, then render the key, then import the rendered clip into your editing application for inclusion into a bigger project. Ideally, parts of Ultra would be handy filters to plug into Premiere Pro and After Effects. More complex plug-ins for film production, such as The Foundry’s Keylight, will clean up most bad keys when used with several of the built-in color correction tools in After Effects. But if you don’t happen to have Keylight, this tutorial may be the next best thing.
Recently a friend of mine needed to do a last-minute greenscreen shoot. Due to time constraints, he ended up shooting in his living room. Much of the footage looked really good, except for a triangular shadow between his elbow and waist. After starting in his FCP, we moved to Premiere Pro, my application of choice. The key was cleaner but if we upped the “similarity” slider to remove the shadow, we also started to loose his blue jacket. Here is how I solved the problem:
1. Put background on video track one.
2. Put foreground (greenscreen footage) on video track two.
3. Put the color key filter on the greenscreen footage.
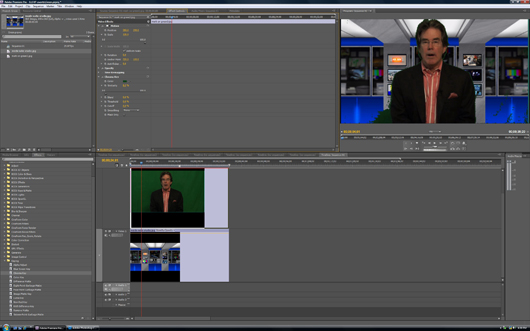
4. Use the “eye dropper” to select the color you want to key from the foreground and adjust it as best you can with out making your subject disappear.
5. Turn off the filter.
6. Put a second color key on the foreground clip.
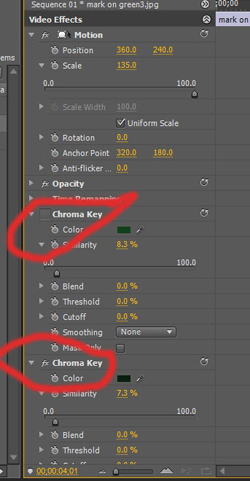
7. Use the “eye dropper” to select the shadowed area you want to key from the foreground and adjust it as best you can with out making your subject disappear.
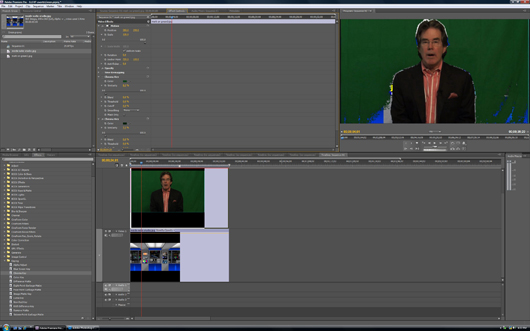
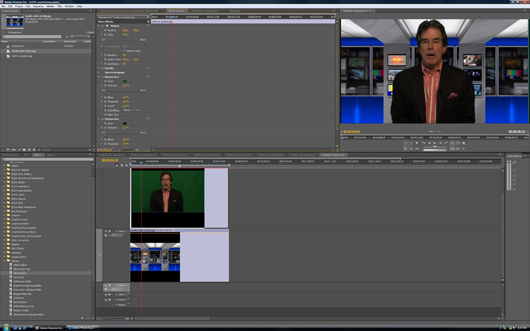
8. Turn on the key on the first “color key.” It should now be a perfect key.
As a side note, we tried doing this in FCP with two “color keys” on one clip, but the software didn’t like it.


i still have problem with it.
i use adobe premiere pro cc.
using ultra key for the chroma key.
any thoughts?
wow! Thanks a lot for the tip, hope this will help, i have a footage with dark green branches on the foreground, making the subject in between the the green screen and the latter. realy hope ma, thanks again