New Firmware Changes to a 'More Natural' Look, But Users Can Revert to Original Settings if Desired
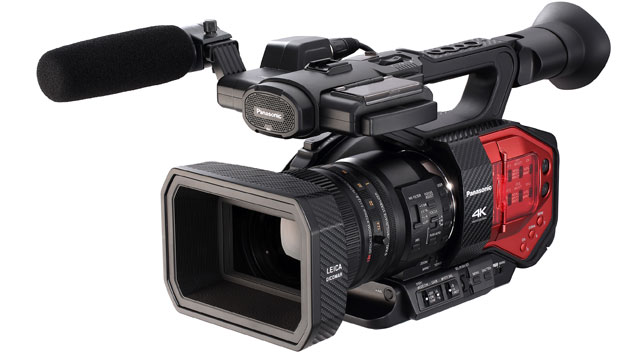
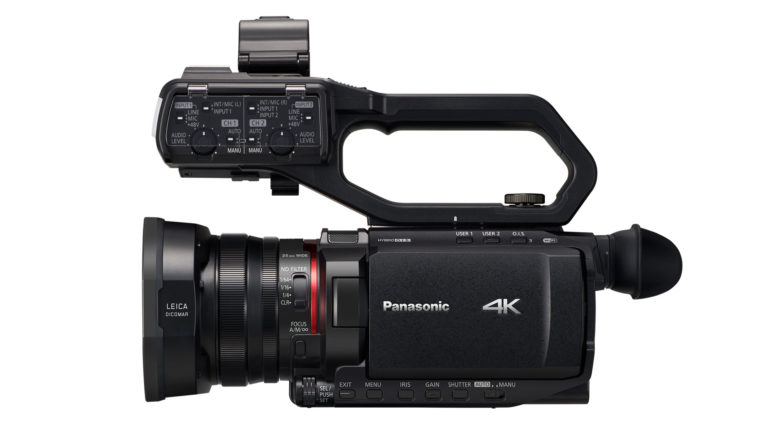
Panasonic has been continuing development work on its recently released AG-DVX200PJ 4K camcorder, devising a new default color palette that the company says will give shooters a "more natural" look out of the camera.
Wityh the latest free firmware release, v1.51, users will still have access to the same in-camera color-adjustment tools and scene file settings, but the new default color is thought to be more pleasing. If custom looks based on the previous defaults have been created, they can still be used after reverting to the original color tones by using a new menu option.
Word of the new palette first spread on DVXUser.com, where DVX200 power user Barry Green posted some sample images to a thread illustrating the difference. (You'll need to be logged in as a site user to see those images.) The new palette looks significantly warmer and somewhat more vibrant.
According to the release notes, sensor noise has also been reduced in the blacks of images shot in HD mode.
For more on the Panasonic AG-DVX200, read our review.
Did you enjoy this article? Sign up to receive the StudioDaily Fix eletter containing the latest stories, including news, videos, interviews, reviews and more.


These scene files are for the Panasonic AG-DVX200 camcorder. Unzip the contents onto your hard drive. You will find four directories:
PRIVATE
Scene File Package 1
Scene File Package 2
Scene File Package 3
Inside each “Scene File Package” directory, you’ll find pictures of what the scene files look like using a standardized test chart (DSC Labs’ CamBelles), and a picture of the waveform and vectorscope for each scene file. There’s also a readme.txt that tells you what scene files are in each package, and what position they’re in in the camera (i.e., in Scene File Package 2, the first scene file is named DSLR, and is accessed by pressing the SCN1 button on the top of the camera’s LCD panel; the second scene file is named PX270 and is accessed by pressing the SCN2 button on the LCD panel, etc).
In order to install these scene files on your camera, format an SDHC or SDXC memory card in your camera. Then put that memory card in your computer, and copy this .ZIP file’s PRIVATE directory onto the memory card (if it asks you to merge or replace files, say “yes”). Put the memory card back in your camera, and go to the SCENE FILE menu and choose the SCENE FILE option, and tell it to LOAD. You should now see three options: SCNFILE2, SCNFILE3, and SCNFILE4. Those correspond to the directories in this scene file package:
SCNFILE2 = Scene File Package 1
SCNFILE3 = Scene File Package 2
SCNFILE4 = Scene File Package 3
(We left SCNFILE1 available for saving your own scene files, so the Panasonic packages start as SCNFILE2.)
You can choose to load in a single scene file (SCN1 thru SCN6) from each package, or to load in all the scene files in a package simultaneously. You can have six scene files (SCN1 thru SCN6) in the camera at any one time, and up to eight packages of scene files on your memory card simultaneously (SCNFILE1 thru SCNFILE8, corresponding to SCENE1.TXT thru SCENE8.TXT).